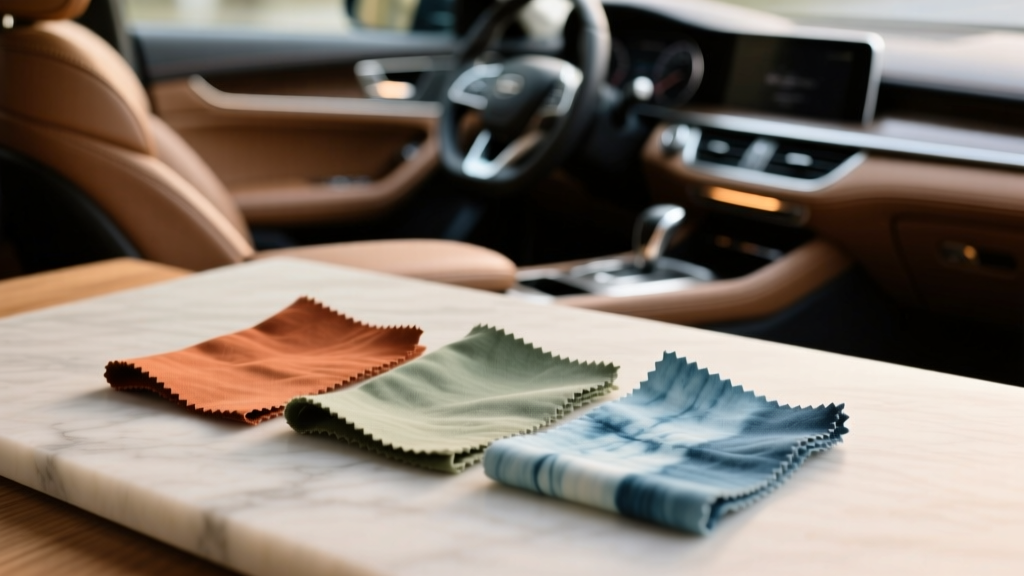
Seasonal Fabric Dyeing for Car Interiors (2026)
Your car?s fabric interior takes a beating year-round: UV exposure through glass, sweaty summer commutes, winter slush, spring pollen, spilled coffee, pet paws?the list adds up fast. Over time, cloth seats and carpets fade, stain, or look ?tired,? even when the vehicle is mechanically perfect. That?s where fabric dyeing comes in. Done correctly, dyeing can revive color, unify mismatched panels after repairs, and extend the life of your interior without the cost of reupholstery.
But dyeing automotive fabric isn?t the same as dyeing a T-shirt. Car textiles are engineered for durability, often coated with stain guards, and exposed to temperature swings that household fabrics never see. Seasonality matters because heat, humidity, and cold affect how dyes penetrate, how fast they cure, and how well protective topcoats bond. This guide breaks down seasonal techniques and a protection-first approach so your refreshed interior stays looking sharp.
Whether you?re restoring a daily driver, improving a weekend project car, or prepping a vehicle for resale, the goal is the same: consistent color, minimal transfer (no dye rubbing off on clothes), and long-term resistance to fading and stains.
Understanding Automotive Fabric Dye vs. Fabric Paint
Before you touch a spray bottle, it helps to know what you?re actually applying. Many ?fabric dyes? for cars are closer to flexible coatings than traditional immersion dyes. Automotive upholstery is typically solution-dyed synthetic fibers, polyester blends, or nylon?materials that don?t absorb household dyes easily.
What works best for car interiors
- Automotive upholstery dye/coating systems: Designed to bond to synthetic fibers, resist abrasion, and minimize color transfer.
- Professional aerosol or spray-gun products: Provide even atomization for large areas like seat centers and carpet.
- Heat-accelerated curing (when safe): Helps durability, especially in cooler months.
What to avoid
- Household liquid dyes: Usually require hot-water immersion and don?t bond well to automotive fabrics.
- Thick ?craft? fabric paints: Can leave a stiff, crunchy feel and may crack with flexing.
Seasonal Challenges: Why Timing and Climate Change Everything
Temperature and humidity affect every stage: cleaning, prep drying, dye flash time, and final cure. If you?ve ever had a cleaner that ?never dries? in winter or a spray that gets tacky in humid summer air, you?ve seen seasonal effects firsthand.
Summer (Hot + UV + Humidity)
- Fast flash times can lead to dry spray and rough texture if you spray too far away.
- High humidity can slow curing and increase the chance of blotching on heavily soiled fabric.
- UV intensity demands stronger protection after dyeing (UV blockers matter).
Fall (Moderate temperatures, changing humidity)
- Often the best season for dyeing: stable temps, less intense sun, manageable cure times.
- Great for DIYers because ventilation is easier without extreme heat or cold.
Winter (Cold + condensation + slow cure)
- Cold fibers can reduce bonding and make the finish look uneven.
- Condensation inside the cabin can interfere with adhesion.
- Requires heated workspace or longer cure times.
Spring (Pollen + moisture + mixed temps)
- Pollen contamination can stick to tacky dye and topcoats.
- Moisture swings can make drying inconsistent; plan for controlled airflow.
Pre-Dye Inspection: Know What You?re Dyeing
Not every stain or fade should be dyed over. A quick inspection helps you avoid wasting time and product.
Checklist before you start
- Fiber condition: If the fabric is fraying, torn, or threadbare, dyeing won?t fix wear. Consider repair or replacement.
- Stain type: Oil-based stains and silicone residues must be removed or they?ll repel dye.
- Previous protectants: Scotchgard-style treatments and ?dealer fabric protection? can block absorption. They must be stripped as much as possible.
- Color goal: Going darker is easier than going lighter. A drastic color change can look unnatural and may require multiple coats.
Real-world example: A faded gray seat bolster with sun exposure often dyes well. A seat with greasy ?hair product? buildup on the headrest usually needs heavy degreasing first, or the dye will fisheye and look patchy.
Tools and Products You?ll Actually Use
Quality prep tools make a bigger difference than most people expect. Here?s a practical kit for most cloth-seat and carpet dye jobs.
Recommended tools
- Vacuum with crevice tools and a stiff interior brush
- Microfiber towels (several)
- Upholstery cleaner (low-foam) + spray bottle
- Degreaser or interior-safe solvent cleaner (for silicone/oils)
- Soft bristle brush and a medium upholstery brush
- Masking tape, plastic sheeting, and/or masking paper
- HVLP spray gun or high-quality aerosol (depending on product system)
- Nitrile gloves, eye protection, and a respirator rated for organic vapors
- Portable fan and optional dehumidifier/space heater (season-dependent)
Product comparisons: aerosol vs. spray gun
- Aerosol: Best for small repairs, spot blending, or single seats. Convenient, but can be harder to keep perfectly even across large surfaces.
- Spray gun (HVLP): Best for full interiors, carpets, and consistent color across multiple panels. More setup, but usually the most professional finish.
What to look for in a dye/coating product:
- Made for automotive upholstery or synthetic fabrics
- Flexible when cured (no stiff feel)
- Good rub resistance (minimizes dye transfer)
- Optional UV-stable topcoat or compatibility with a fabric protectant
Step-by-Step: Seasonal-Smart Fabric Dyeing Process
These steps apply to most cloth seats, door inserts, and carpets. The seasonal adjustments are included under each stage.
1) Deep clean and decontaminate
- Vacuum thoroughly, including seams and under seat edges. Grit left behind can ruin the finish.
- Pre-treat stains with upholstery cleaner. Agitate gently with a brush.
- Degrease contact areas (headrests, bolsters, armrests) using an interior-safe degreaser or solvent cleaner as recommended by the product manufacturer.
- Extract or wipe until towels come up clean. Let it dry completely.
- Summer tip: Work in smaller sections. Heat can make cleaners dry too fast and leave residue?mist the surface lightly and wipe promptly.
- Winter tip: Use a heated garage if possible. Cold fabric holds moisture longer; run a fan and allow extra drying time.
2) Test for color and adhesion
- Choose a hidden spot (under the seat edge or rear side panel).
- Apply a light coat and let it cure as directed.
- Rub with a clean white microfiber to check for color transfer.
If it rubs off after curing, you likely have contamination, insufficient cure time, or need a compatible binder/topcoat system.
3) Masking and surface prep
- Mask plastics, leather accents, seat belts, buckles, and trim.
- Cover glass and dashboard areas if spraying inside the cabin.
- If the fabric is matted, gently brush to lift fibers before spraying.
- Spring tip: Keep doors closed between coats to reduce pollen landing on tacky surfaces.
4) Apply dye in controlled, light coats
- Shake/mix product thoroughly (pigment settles fast).
- Spray a light mist coat first to create a tack layer.
- Apply multiple thin coats rather than one heavy coat. This keeps the fabric feel soft and reduces blotchiness.
- Maintain consistent distance and overlap passes (about 50% overlap).
- Allow proper flash time between coats.
- Hot weather adjustment: Reduce spray distance slightly and keep moving to avoid dry, dusty texture.
- Humid weather adjustment: Increase flash time and run a fan/dehumidifier. Rushing coats in humidity can trap moisture and weaken the finish.
- Cold weather adjustment: Warm the cabin and product to a safe working temp (follow label guidance). Cold product can spit and leave speckling.
5) Cure the finish (this is where most DIY jobs fail)
- Let the dye cure for the full recommended time before heavy use.
- Avoid sitting on the seats with damp clothing or transferring body oils during the first days.
- Do a final rub test with a white towel after curing.
Real-world example: If you dye cloth seats on a Friday night and drive all weekend, you?re more likely to get dye transfer on light clothing. Waiting the full cure window?especially in winter?makes the difference between a durable finish and a redo.
Protection After Dyeing: Lock In Color Through Every Season
Once the color looks right, protection is what keeps it looking right. The best approach is a two-layer mindset: UV defense + stain resistance.
UV and fade protection
- Use a UV-blocking interior protectant on surrounding plastics and vinyl to reduce reflective UV load.
- Add quality window tint (legal in your area) to reduce UV exposure dramatically.
- Use a windshield sunshade during peak summer to protect both dyed fabric and dashboards.
Fabric protectant (stain and water resistance)
- Choose a protectant compatible with dyed surfaces and allow full cure first.
- Apply evenly and avoid soaking the fabric; heavy saturation can cause stiffness.
- Reapply seasonally for daily-driven vehicles?especially before winter and rainy seasons.
Seasonal protection schedule
- Late spring: UV protection check, light fabric protectant refresh, pollen cleanup routine.
- Late summer/early fall: Deep clean + protectant refresh to remove sweat/oils and prep for cooler weather.
- Early winter: Apply fabric protectant focused on carpets and lower seat areas to help resist salt stains.
Common Mistakes to Avoid
- Skipping deep cleaning: Dye over oils and you?ll get fisheyes, blotches, and poor adhesion.
- Spraying heavy coats: Leads to stiff fabric, uneven color, and higher chance of transfer.
- Not controlling the environment: Humidity and temperature swings are silent failure points.
- Ignoring cure time: The finish may look dry but still be vulnerable to abrasion and body oils.
- No masking: Overspray on plastics and seat belts is hard to remove and looks unprofessional.
- Trying to ?fix? damage with dye: Dye won?t repair worn foam, torn fabric, or melted fibers.
Quick Troubleshooting Guide
- Patchy color: Usually contamination or uneven spray pattern. Re-clean, then apply additional light coats.
- Rough texture: Dry spray from spraying too far away or in hot conditions. Lightly brush fibers after curing; adjust technique for next coat.
- Dye transfer on clothes: Not fully cured, applied too heavy, or incompatible product system. Allow longer cure; consider a compatible topcoat/binder.
- Stiff feel: Too much product. Next time use lighter coats; consider dyeing only what?s necessary instead of flooding the surface.
FAQ: Seasonal Fabric Dyeing for Car Interiors
How long does dyed fabric last in a daily driver?
With proper prep and curing, a quality automotive fabric dye/coating can last years. Longevity depends on abrasion (entry/exit bolsters), UV exposure, and whether you use fabric protectant and sun protection.
Can I dye seats in winter if I don?t have a heated garage?
You can, but results are less predictable. If you must work in cold conditions, warm the cabin safely, extend drying and cure times, and avoid moisture buildup (run airflow). If temperatures are near freezing, it?s smarter to wait for a warmer day.
Will dye hide stains completely?
Light staining and fading usually blend well, but heavy oil stains or bleach marks can telegraph through. The best results come from removing the stain as much as possible first, then building color in thin coats.
Do I need to remove the seats to dye them?
Not always. For spot repairs and seat centers, masking can be enough. For full seat sets or carpet dyeing, removing seats improves access and reduces overspray risk?especially if you?re using a spray gun.
Is fabric dyeing safe around airbags and seat sensors?
Use caution. Avoid saturating seams where airbags deploy, avoid spraying directly into sensor areas, and never block or coat seat belt webbing. When in doubt, remove components or consult a professional upholstery shop.
Should I use a fabric protectant right after dyeing?
Wait until the dye system is fully cured per the manufacturer?s timeline. Applying protectant too soon can trap solvents or interfere with bonding.
Next Steps: A Simple Plan for a Better-Looking Interior
- Pick the right season if you can?fall and mild spring days are the easiest for DIY dyeing.
- Commit to prep: deep clean, degrease, and fully dry before spraying.
- Apply light coats and respect flash and cure times.
- Protect the finish with UV reduction (sunshade/tint) and a compatible fabric protectant.
- Maintain smart: quick vacuuming, prompt spill cleanup, and a seasonal protectant refresh.
If you want more practical interior how-tos?cleaning routines, stain removal strategies, trim restoration, and long-term protection?explore more guides on carinteriormix.com.